
CDX BLOCKS
CDX Blocks are a Lego-compatible building system with specialized pieces for building roller coasters.
You can read the articles straight through, or you can use these handy links to jump to a particular section:
The basics (you are here)
The basics
First things first: when deciding how many sets to buy, the answer is as many as you can afford. I can tell you this from experience. You’ll unpack everything, build the layout that’s detailed in the instructions, and then immediately want to build a bigger one. Plus, if you’re outside the USA, the international shipping charges are going to be pretty steep, so getting multiple sets in one order saves money in the long run, since you’ll only pay for shipping once.
My initial order was a four-pack during their Kickstarter campaign. I’ve since added five more sets to this.
Another way to reduce shipping costs is to order the sets from a site like Amazon or some other outlet where the shipping charges might be reduced or even free. Occasionally, though, the CDX site has a “scratch and dent sale” where they offer sets that have dented or torn boxes (but undamaged pieces) at a big discount. That savings could easily make up for the shipping expense, especially if you order multiple sets.
Be aware that the more you have, the more you can build, which leads to something of an addiction.
You might also consider adding other bricks to your collection, since CDX is compatible with many other brands such as LEGO, Mega Construx, Block Tech, Lepin, Tyco, and others. The quality of the bricks and the tightness of the interlocking varies from brand to brand, so I suggest that if you get a brand other than Lego (which is very high quality, but expensive) you buy very small sets of different brands to determine which ones you prefer, then move up to bigger sets. Adding non-CDX bricks allows you to supplement your layouts with alternative supports to stretch your CDX supports further, build station platforms, queue lines, scenery, and other items to enhance your fun. You can also build in theming, other rides, or even a massive fun house queue for the peeps to navigate before getting on the coaster!
The fun house queue included a rotating tunnel walk-thru, teeter-totter pathways, and other fun stuff.
There are plenty of ways to supplement your collection without killing your bank account with expensive sets. LEGO stores have “pick-a-brick” walls where you can buy a cupful of individual bricks that you select yourself. The stock changes constantly, so stop in whenever you think about it - there might be lots of stuff you can use. LEGO also has “pick-a-brick” on its website, where if you know what bricks you need, you can usually find them there. This is a good option for those specific kinds of bricks you need to customize your trains, for example, without waiting until they show up at your local store.
Another good site to check out is BrickLink. You can buy new and used Lego there, which can save you money as well.
Non-LEGO brands can be significantly cheaper, but as mentioned before, the quality can vary greatly. I had good results early on with Block Tech brand. The fit is good, the quality was just fine for my needs, and for some reason Walmart tends to put some colours on clearance from time to time and you can get a box of 250 assorted pieces for five bucks (Canadian dollars). The downside is that Block Tech apparently has no means of buying specific bricks individually, so you’ll have to buy a whole box of assorted bricks even if there are only one or two kinds you might need. Also, I’m not sure how easy they are to find outside of Canada. Once I had enough to build some stuff, I eventually replaced all the Block Tech bricks with Lego, but the off-brand stuff was good for getting going without breaking the bank right up front.
You can also find used bricks on resale sites like eBay, kijiji, craigslist, and others. Social media is full of brick groups as well, and some offer swaps and sales.
There’s always a long queue, amirite?
You can use non-CDX bricks right in the middle of your CDX structures as well. I’ve found, for instance, that using 1X6 bricks (instead of 1X6 plates) on the bottom row of supports makes it much easier to take apart when you’re done and want to build something new. Instead of trying to wedge a finger under the plate to pop it off, you can simply push the brick to one side and it rolls right off, easy peasy. (See the yellow bricks under the track in the photo above) If you’re building a racing coaster, you can even colour-code those bricks on the bottom layer to keep track of which track is which while you build.
Lego turntable pieces (part #s 3679 & 3680) allow you to put your track at any rotation angle you want
Specialized bricks such as turntables, bricks with holes in the middle, columns, angles, arches, and other stuff can give you lots of new ways to shape your track and create crazy inversions or other awesomeness. Especially useful are bricks that LEGO fans call “SNOT” - which stands for Studs Not On Top. These bricks allow you to build sideways or even upside-down, giving you even more options.
No, I have no idea why Santa is holding a fish.
The green/white bricks in the photo above allow the track to be attached upside-down (Lego part# 30414 (white SNOT brick) with two green inverted brackets, Lego part #99780)
You can also stuff your coaster train with peeps! CDX offers one mini-figure as of this writing, but you’ll likely want a variety of riders. Many brands of bricks have their own style of peeps and not all of them will fit in the seats securely. Best to try one out before buying a whole train full. LEGO minifigs will fit just fine and they’re ridiculously customizable and include popular characters from movies and comics. Want a Star Wars-themed coaster with a train full of Jedi? You can do that.
Keep in mind, though, that adding peeps will drastically change the weight and centre of gravity of the trains. This will in turn affect how they run on your layout. A setup that works perfectly with an empty train might stall with peeps in it due to forces being different. If you plan to put peeps in the train, do all of your testing with peeps in the train. Don’t add them later, or you may find that the train doesn’t make it all the way around your layout due to the change in physics.
Clearances are different with peeps, too. Two empty trains sail through this duelling inversion without problems, but peeps will knock heads if the trains are timed right.
And speaking of testing, there will be many times when you want to send a train through what you’ve built so far to see if it will make it before you continue building. This keeps you from the frustration of building out a whole layout only to find that the second hill is too high and the trains roll backward and valley. Testing an incomplete layout means that your train is going to reach the end of the track and sail off into space. To prevent this, place a couple of cross ties on the end of the track upside-down to act as a stopper. Then you can send your train without worry.
Stopping the train this way also prevents the cat from snatching it when it falls on the floor.
Finally, let’s talk about the best thing you can do to your layout: motorizing the lift hill.
Sure, the included hand crank works just fine, but wow is it nice to just sit back and watch the train climb the lift on its own. CDX sells a motor kit on their website and LEGO has a couple of options as well. One of the LEGO options includes lights, which can spruce up your station nicely. Whichever option you use, motorizing your lift is the first thing I’d suggest you do when you want to go beyond the basics.
Basic motor setup from Lego.
If you really want to go big, invest in Lego’s “Mindstorms” system, which allow you to program multiple motors, sensors, and other stuff to completely customize the automation for your coaster. The possibilities are nearly endless, including building transfer tracks, managing multiple train dispatches, and other stuff - but it doesn’t come cheap. You’re literally investing in a robotics system and the price tag reflects that, but WOW is it awesome.
Once you get started, your biggest obstacle might just be where to put everything. Finding room to build can be challenging, especially when you’re using multiple sets. When you build on the dining table, for example, you might find that your project took longer than you expected and your dinner guests end up having to eat around your Moose Coaster layout.
Can you still claim it’s a “centrepiece” when it takes up half the table?
Building outside is one option that presents its own challenges. Wind can make your layout work just fine one moment and not at all the next. Also, heat and cold affect speeds in different ways. One word of caution: if you’re building in cold weather, leave the rails inside at room temperature until you’re ready to snap them on. When temps are near or below freezing, the rails lose much of their flexibility, making it nearly impossible to snap them onto turns or steep hills. Also be aware that storing your bricks outside in below-freezing weather can make the pieces brittle and harder to work with. If it’s cold out, plan shorter builds that don’t require leaving everything out for more than a day. Even with those challenges, building outside can give you a lot more space for some really massive layouts. If you’ve got a yard, you could even build a terrain coaster!
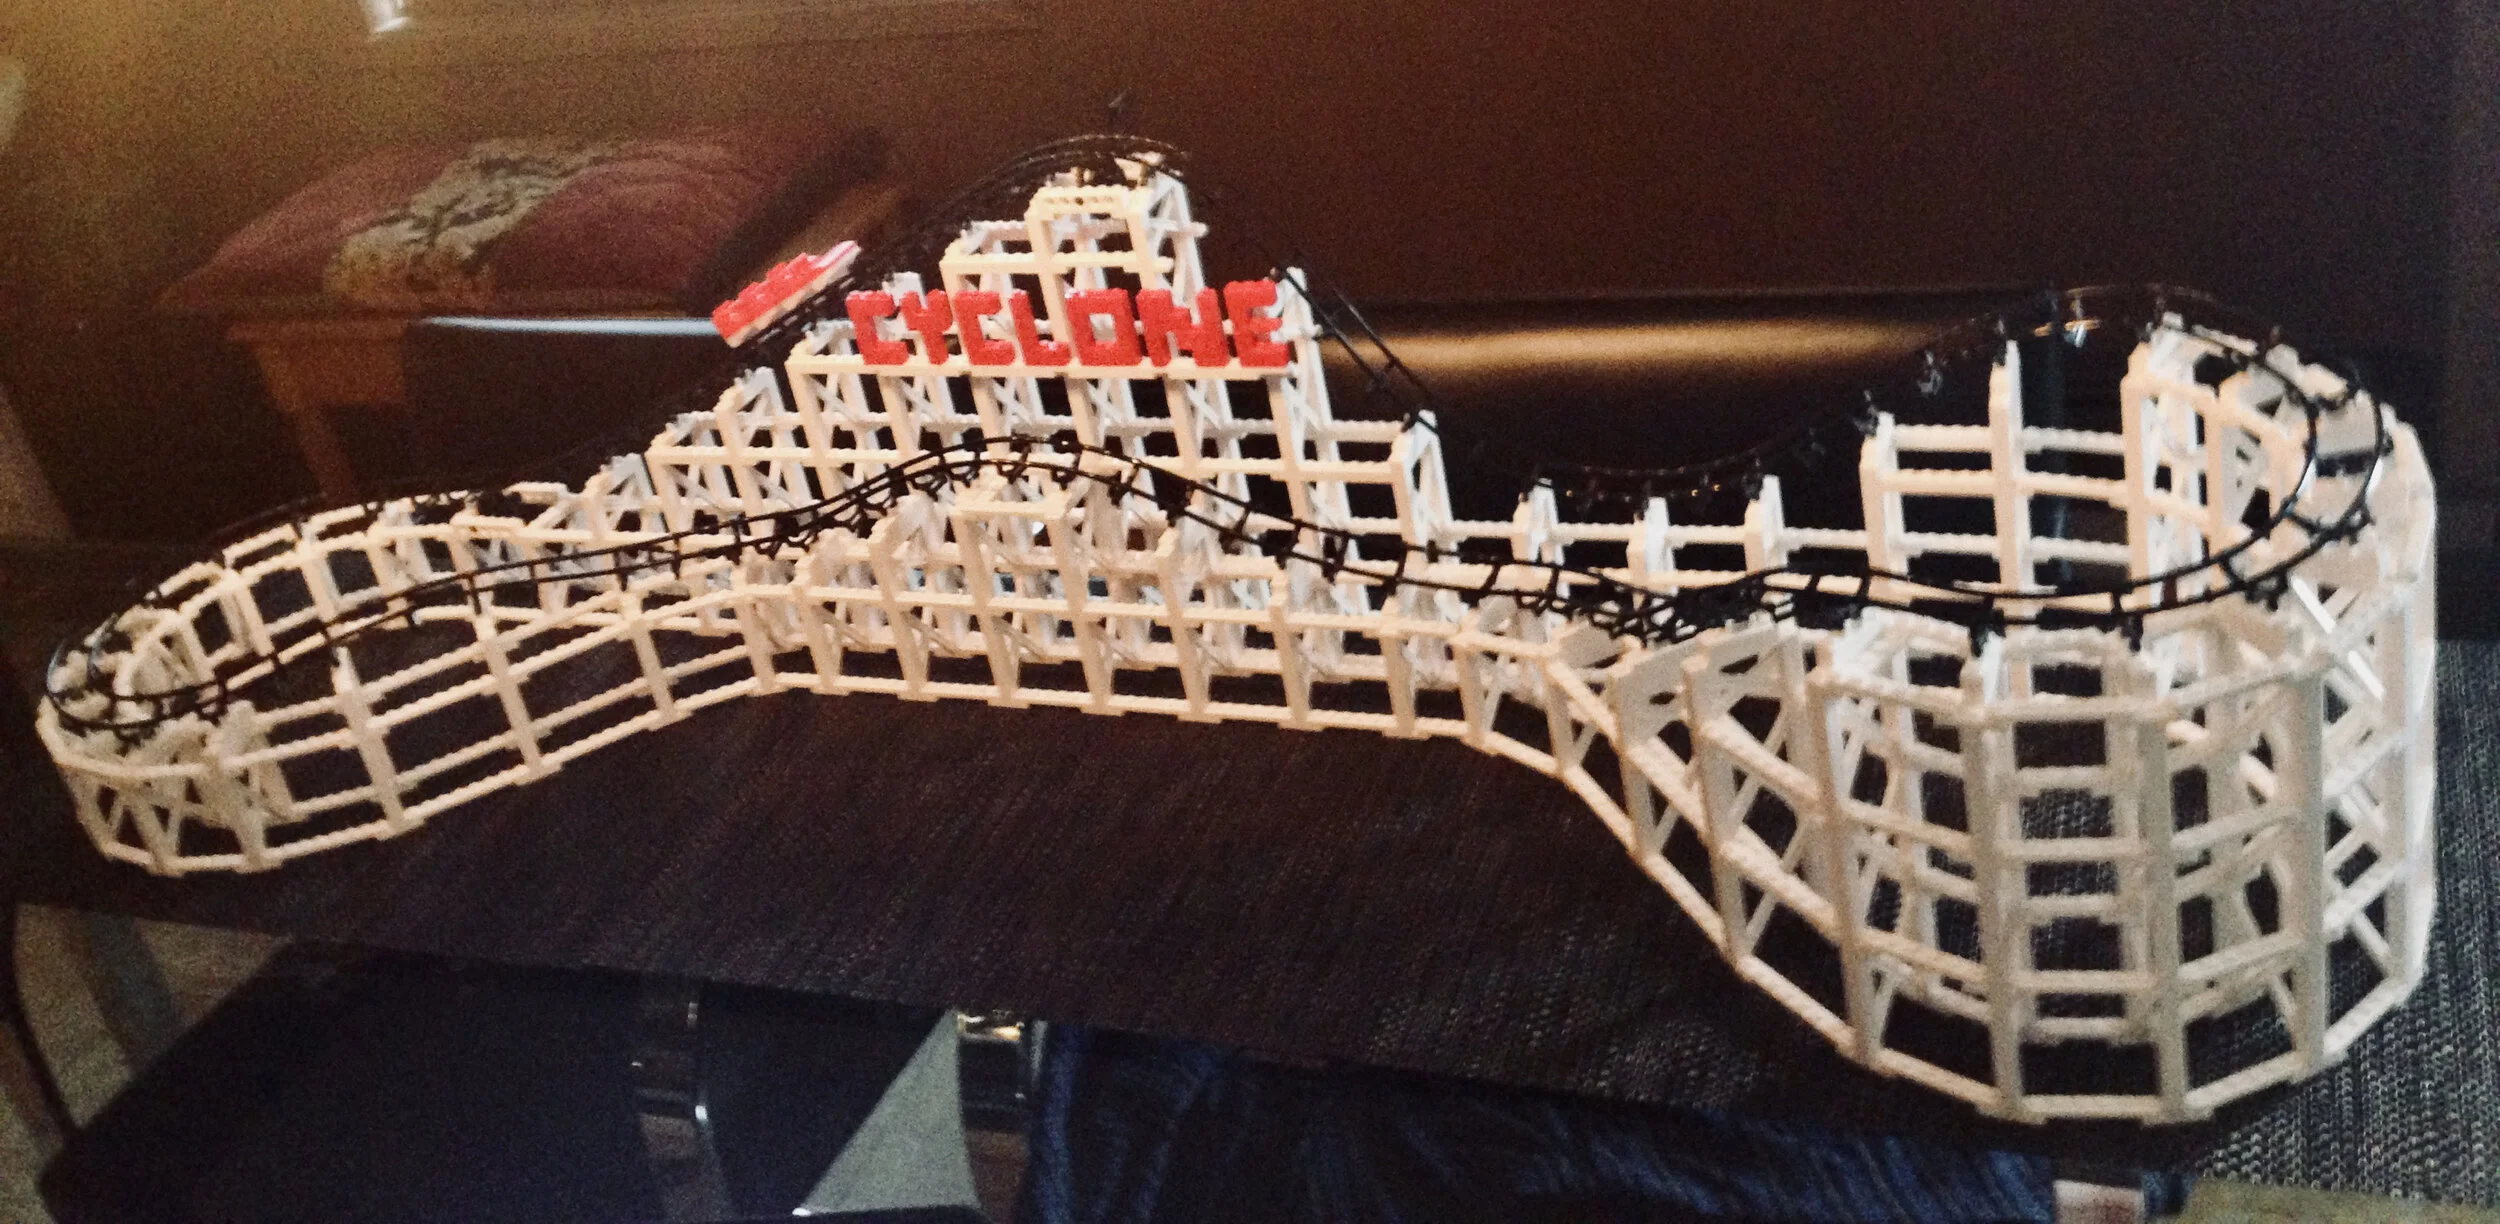
This massive layout was built with nine Cyclone sets plus some other non-CDX bricks and two Lego motors. It’s 12 feet long and 3 feet wide.
That’s the basics. I highly suggest starting out by building the layout that’s included with your set, going step-by-step with the instructions. You’ll learn a lot that way. Once you’ve done that, tear it all down and build one of your own designs. There is one pitfall you’ll surely encounter, though, and the last tip in this section is one way around it.
When you build a layout, you’ll have to cut the rails to fit. This means that your rails will get shorter and shorter with every build, and at some point, you’re going to run across a scenario when the rail you have is shorter than the rail you need.
NOOOOOOOOOOOOOO!!!!!!!!
You’re going to need to add a short piece in the gap, using one of the scraps from a previous build. Of course, if you’ve got multiple sets, you’ve likely got a few extra rail connector pins and you can just use those to attach the extra rail. But if you’ve already used all your pins, or you’ve lost one, there’s another way you can splice two track ends together. It works best on a lift hill section or other straight section of track (rather than a curve).
First, take a couple of the 2X6 plates and put them side-by-side. Snap a cross tie mount on each end of the pair so that the rail’s end lies between them. Anchoring the two sections with the 2X6s keep them set in place and add sturdiness. Now add three or more cross ties, making sure the centre one straddles the end of the rail.
Now snap in the rail you want to connect, keeping the cross ties as close together as possible.
Add a few more cross ties if you have room, building in more stability to the section and reducing the chance that the ends will separate.
It’s not as good as using a rail connector pin, but it’s close.
Perhaps CDX might someday offer an extra-wide cross tie that would make rail connections super-easy (and such a piece would be harder to lose than those tiny little pins). Maybe it could be possible to make one with a 3D printer. Until then, this solution works fairly well.
In addition to running out of rail connectors, another common issue is running out of support pieces. The biggest culprit is the lift hill, which starts to eat up massive numbers of support pieces once you get some decent height going for a big layout. Luckily, there are other ways to build a lift hill. We’ll cover that next.