

Lift hills: Getting to the top
Every coaster is going to need a way to get uphill. While real-life coasters use lift chains, magnetic boosters, hydraulic launch mechanisms, or other means, CDX comes with a plastic chain, gears, and a hand crank to haul the cars up the hill.
The first thing you’ll do is put all those links together. This takes forever and frankly, it’s not much fun. Some folks swear that keeping all the little hooks in the same direction makes the chain travel better, but others swear that it makes no difference. Either way, it’s going to suck up a lot of your building time. I highly suggest that once you’ve assembled your chain, leave it assembled and just adjust the length as needed for future layouts. FYI: the CDX chain and Lego chain (part #3711) are identical, so you can use them interchangeably if you need to add more chain to your set.
Also: you’re probably going to drop a few links on the floor while snapping them together. The easiest way to find them is to walk around barefoot! (kidding)
If you’re building the Cyclone set with the instructions, I’ve got a slight change you’ll want to make to this step:
Wait! Don’t turn the page yet. There’s an extra step you should do first.
After you complete the build on page 11, assemble your chain and lay it down over the tops of the supports on the back row like this:
You’ll thank me later.
Now continue building per the instructions. The reasoning behind this is that the chain is eventually going to end up here later, but the instructions have you add it after the whole lift structure is built. That means that you’re going to have to try to thread the chain between the supports, little by little. It’s a tricky process and one that has added substantially to my profanity vocabulary. Now when I build any layout, I always stick the chain in place first before building out the structure on top of it.
Trying to thread the chain through the supports on a lift this size would require a massive amount of patience, which I don’t have. Laying it down across the bottom layer of supports first before adding supports on top of it saves time, frustration, and therapy costs.
Your chain’s worst enemy is friction. If the chain is bouncing across ties, is too tight, or is dragging along the supports at the bottom, you’ll need to make some adjustments. If you’re using multiple sets on a layout with one lift hill, then an easy fix for the chain dragging on the supports (which is really common on long lift hills like the one in the pic above) is to add another gear or two in the middle of the horizontal part to give the chain something to roll over and to keep it off the support pieces.
You’ll soon find out when you start building custom layouts that the lift hill takes up a huge number of your support pieces. You can buy more sets - or you can look for some alternate ways of building your lift hill so those supports can be used on the rest of the layout. By supplementing the structure with non-CDX bricks, you can save lots of pieces.
This design saved nearly 70 support pieces.
You can even ditch most of the CDX supports entirely, building a lift almost completely with non-CDX bricks.
Or get creative and run your lift onto a taller table, using the “terrain” as extra height…
Perhaps you don’t have a lot of extra non-CDX bricks. Try building out a single row of boxes, then turning them sideways to make a lift similar to the Goliath coaster at Six Flags Great America near Chicago. Here’s the real-world coaster:
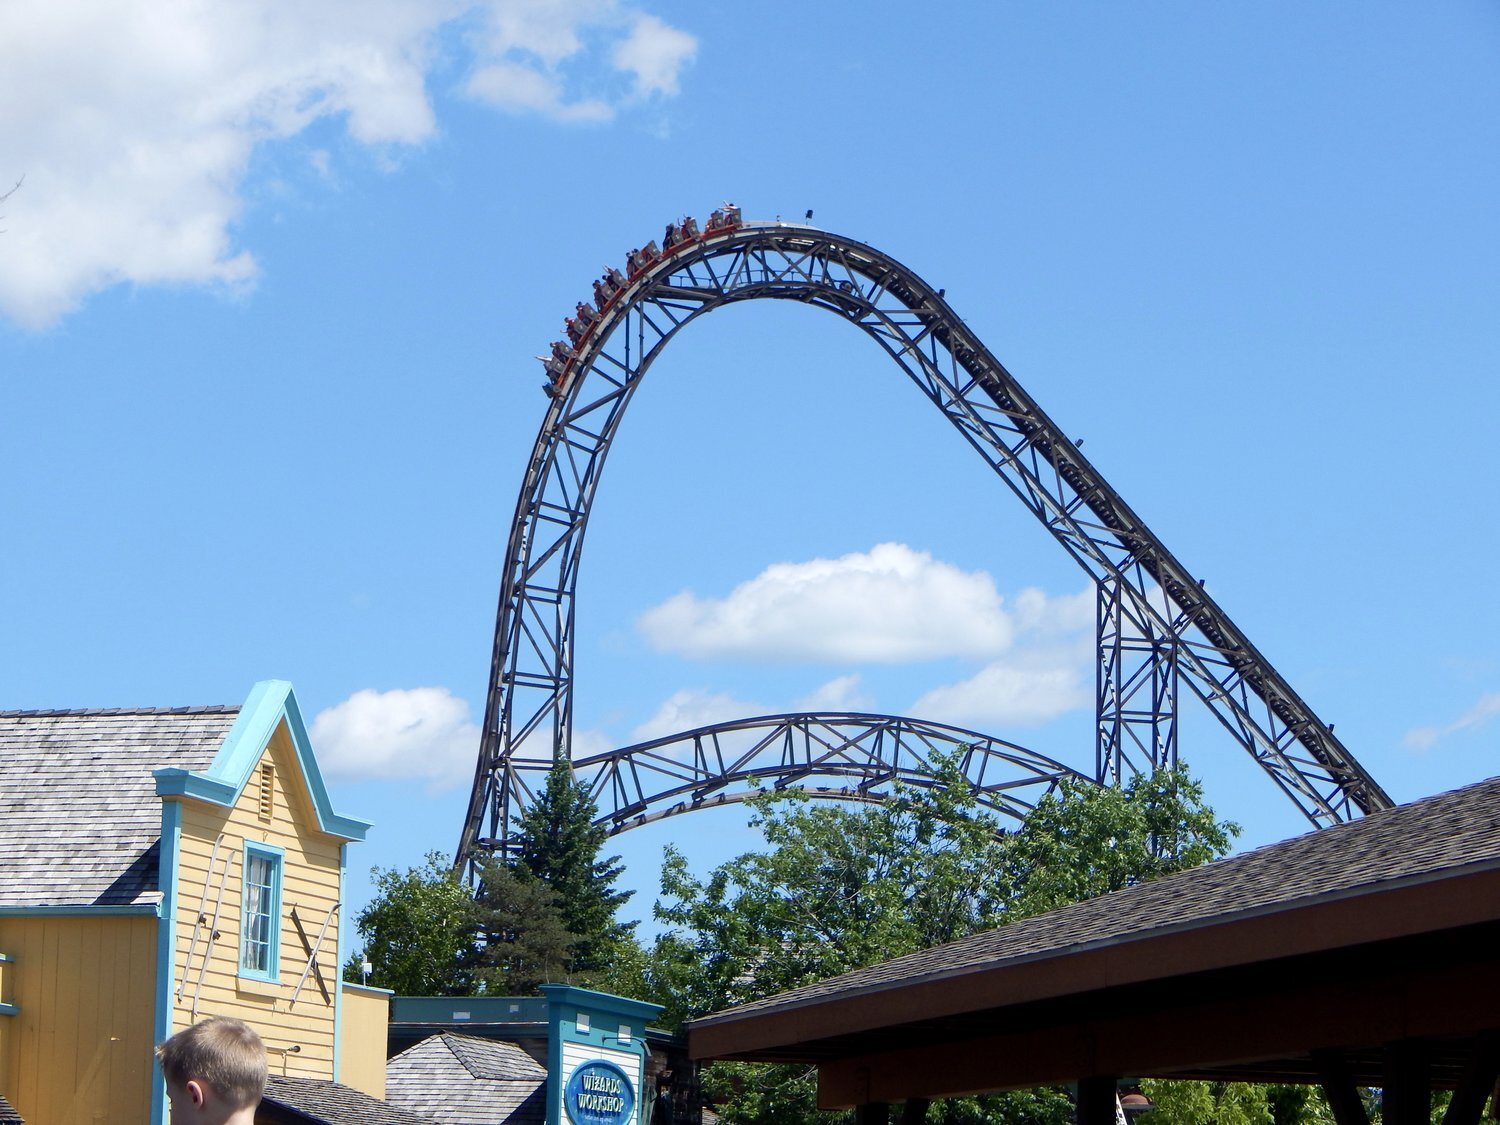
photo courtesy of ElloCoaster
…and here’s the CDX version:
Design and photo: Jon Zang
You can also build your lift steeper than the traditional slope, which will also save on supports. The Cyclone design goes 1/2 support up for every one support across. You can change that to 1:1 without too much problem, thus making your lift half as long for the same amount of height. You can go even steeper than that if you like, but steep lifts are more likely to make the trains stutter and skip as they make the climb. The reason for this is the little pins under the train that catch the links have more pull against them and any slack in the chain will allow them to slip. The solution is to use more cross ties placed closer together. In fact, if you’re having issues with your lift at all, the first solution you should probably try is add more cross ties. The more cross ties you have, the less likely the chain will be to disengage with the pins on the train.
The steeper the lift hill, the closer together your cross ties need to be.
Closely-spaced ties also help prevent “chain bounce,” which can also cause your trains to disengage the chain. Chain bounce occurs when the chain droops between the cross ties, then must go up and over the next one. Having the chain tight enough to reduce slack will usually fix this, but sometimes very long lifts mean the chain is scooting across dozens of cross ties. Friction happens. If you’ve got some LEGO tiles and a few extra bricks lying around, there’s a good way to make the chain’s travel path nice and smooth.
A standard-sized 2x4 brick plus a smooth tile on top is the perfect height to keep the chain engaged with the train.
The chain will travel smoothly across the tiles and completely eliminate chain bounce, plus greatly reduce friction.
If you’ve motorized your lift hill (and if you haven’t, you should!), you may discover that the speed of the train climbing the hill seems a bit unrealistic compared to the scale of your layout. You can alter the speed of the chain with different-sized gears. Generally speaking, placing a smaller gear on the drive shaft against a larger gear on the chain lift will make the chain travel more slowly. Conversely, putting a large gear on the drive axle and a small gear on the chain lift will really send the train flying over the hill!
This setup will cause the train to haul serious butt. The chain axle will rotate five times for every rotation of the drive motor axle!
Also, notice the curved tile next to the gear. This helps insure the chain continues smoothly from the gear to the tiles (Lego part #15068)
You’ll need LEGO or other non-CDX gears to do this, but they’re fairly easy to find online.
One thing to consider when you build your lift is where to put the driver - whether that be a motor or the hand crank. If you’re using the crank, it’s usually easiest to put it at the top of the lift, just like the instructions tell you. That’s often the best place for the motor, too, as it places the driving gear at the top of the hill, which is advantageous because reasons. [I’m not going to delve into the specifics.] However, that can look a bit unsightly and requires a lot of extra bricks to make a platform for the motor and battery box to sit on.
Next-best option: drive gear directly below the top of the lift
Option #2 is to put the motor directly under the top of the lift, where the chain makes a 90-degree bend from vertical to horizontal. The chain gets pulled straight down in this option, usually making for a fairly smooth operation.
Option #3 on both lifts
Option #3 is to put the motor at the beginning of the lift. For me, this seems like the easiest place to put it from a building perspective, as I can usually incorporate a station building into the design to conceal the motor and battery pack.
Build a station house to hide the unsightly motor and battery pack.
However, I find that the lift mechanics tend to be a bit more finicky when the drive gear is at the front like this. I’m sure there are engineering reasons for this related to torque and other things, but all of that is an unknown to me. The end result is that while putting the motor at the front of the lift will work, it seems to be less reliable and more prone to jamming than putting it at either of the other spots.
All of the photos above show a Lego brand motor and battery pack. CDX sells a motor kit as well, and it has a cord that plugs into the wall, eliminating the need for the battery pack. This can be a great advantage and save you some money on batteries, but be aware that the CDX motor is mono directional. It spins in just one direction, so make sure you know which way it turns before you install it onto your lift hill, otherwise your chain could run backward! Lego motors have reversing capability, so you can install the motor on whichever side of your lift is most convenient.
If you’ve got multiple sets, it can be really fun to build a racing coaster. Using the longer axels and a spacer to attach them together at the ends, you can use a single motor to drive both lifts. Use the 2X6 plates to keep the two hills aligned (like you did on the Cyclone layout for the track after the turnaround).
Finally, check out this way to build a tall lift without needing tons of room. It’s inspired by real-life coasters such as the Big Dipper at Blackpool Pleasure Beach (England) and Twister at Knoebel’s Amusement Resort (Pennsylvania). It’s a double lift hill, one stacked on top of the other, but both lifts use the same chain. It’s a tricky build, but pretty fun once you figure it all out.

Experiment with different methods of building your lift. Design a custom support structure, use different gear sizes, try various angles of ascent, maybe build multiple side-by-side lifts or even a stacked lift. However you do it, remember to keep the chain’s travel as smooth as possible, use lots of cross ties, and keep the chain slack to a minimum.
One last tip: the trains have two kinds of cars: those with a pin on the bottom to catch the chain, and those that have no pin. Alternate them - one pin, one not, one pin, one not, etc - to keep the pins properly spaced out.
Putting two pinned cars in a row can cause issues such as jamming and lift stoppage. If you alternate them, you can make seriously long trains and still not have problems.
Of course, building a successful layout for a 20-car train is really tricky, because physics, but as long as you’ve alternated the pins on the bottom of the cars, at least you know it’ll get up the lift hill just fine!
There are more tips and tricks to learn, though… continue on by clicking the button below.