
Tip #1: Keep it smooth
The fastest your coaster is going to go is when it’s on a perfectly smooth, straight, downhill track. Anything you change in that equation will result in your train slowing down. Add a turn, you’ll have friction. Go uphill and gravity will slow things down. Make a bumpy track, and you’ll just kill momentum.
Those bumpy drops, turns, and other stuff are going to sap a lot of speed. A smooth track would give you a lot more momentum with the same sized lift hill. If you can’t ‘eyeball’ it, lay a ruler on the track and see where the bumps are, then work on smoothing them out.
Tip #2: Crossties are your friend
Another way to insure that your track is smooth is to insure that the rails are always the same distance apart. Over time, your rails can get bent or wonky and if there’s too much distance between the crossties, those bends will stay, creating rough, bumpy track. This is especially crucial on curves.
This layout would benefit greatly by adding another crosstie between every one of the existing ones.
The longer you leave your coaster up, the more crucial the crossties become. A layout that works fine today might decide to have problems in a couple of weeks. Some of this could be due to track warpage or stretching, both of which can be alleviated by putting in enough crossties.
Tip #3: Airtime is not your friend.
Airtime, that moment of negative gravity when a coaster train travels over a hill or drop fast enough to lift riders out of their seats, is hugely desirable on a real coaster. It follows, then, that it would be fun to build those moments into your CDX layout, too.
Don’t.
Well, not in extreme amounts, anyway. It comes down to the CDX trains and their wheel design. A real-world coaster can handle negative-Gs because there are wheels under the track called upstops that will roll on the underside of the rail when gravity is reversed.

So even when gravity is pulling the main wheels up off the track, the car is still rolling because of the wheels beneath the rails. But the CDX trains aren’t built like that.

CDX trains have the main wheels on top of the rails, just like a real coaster, but instead of upstop wheels under the rails, there’s simply a flanged wheel between the rails doing two jobs: navigating turns and keeping the cars from jumping off the tracks.
That flange is what will contact the rails if the train encounters negative-Gs. So instead of the train rolling on upstop wheels, it will be grinding the flanges instead.
Friction kills speed. Grinding the flanges on the bottoms of the rails creates friction. The stronger your ‘airtime’, the more speed you’ll lose.
Tip #4: Going ‘round the bend
To make a curve in your layout, you’ll connect supports together with one shorter and one longer rounded piece like this:
Those rounded ends, however, allow for a lot of play— which can make your supports get out of line.
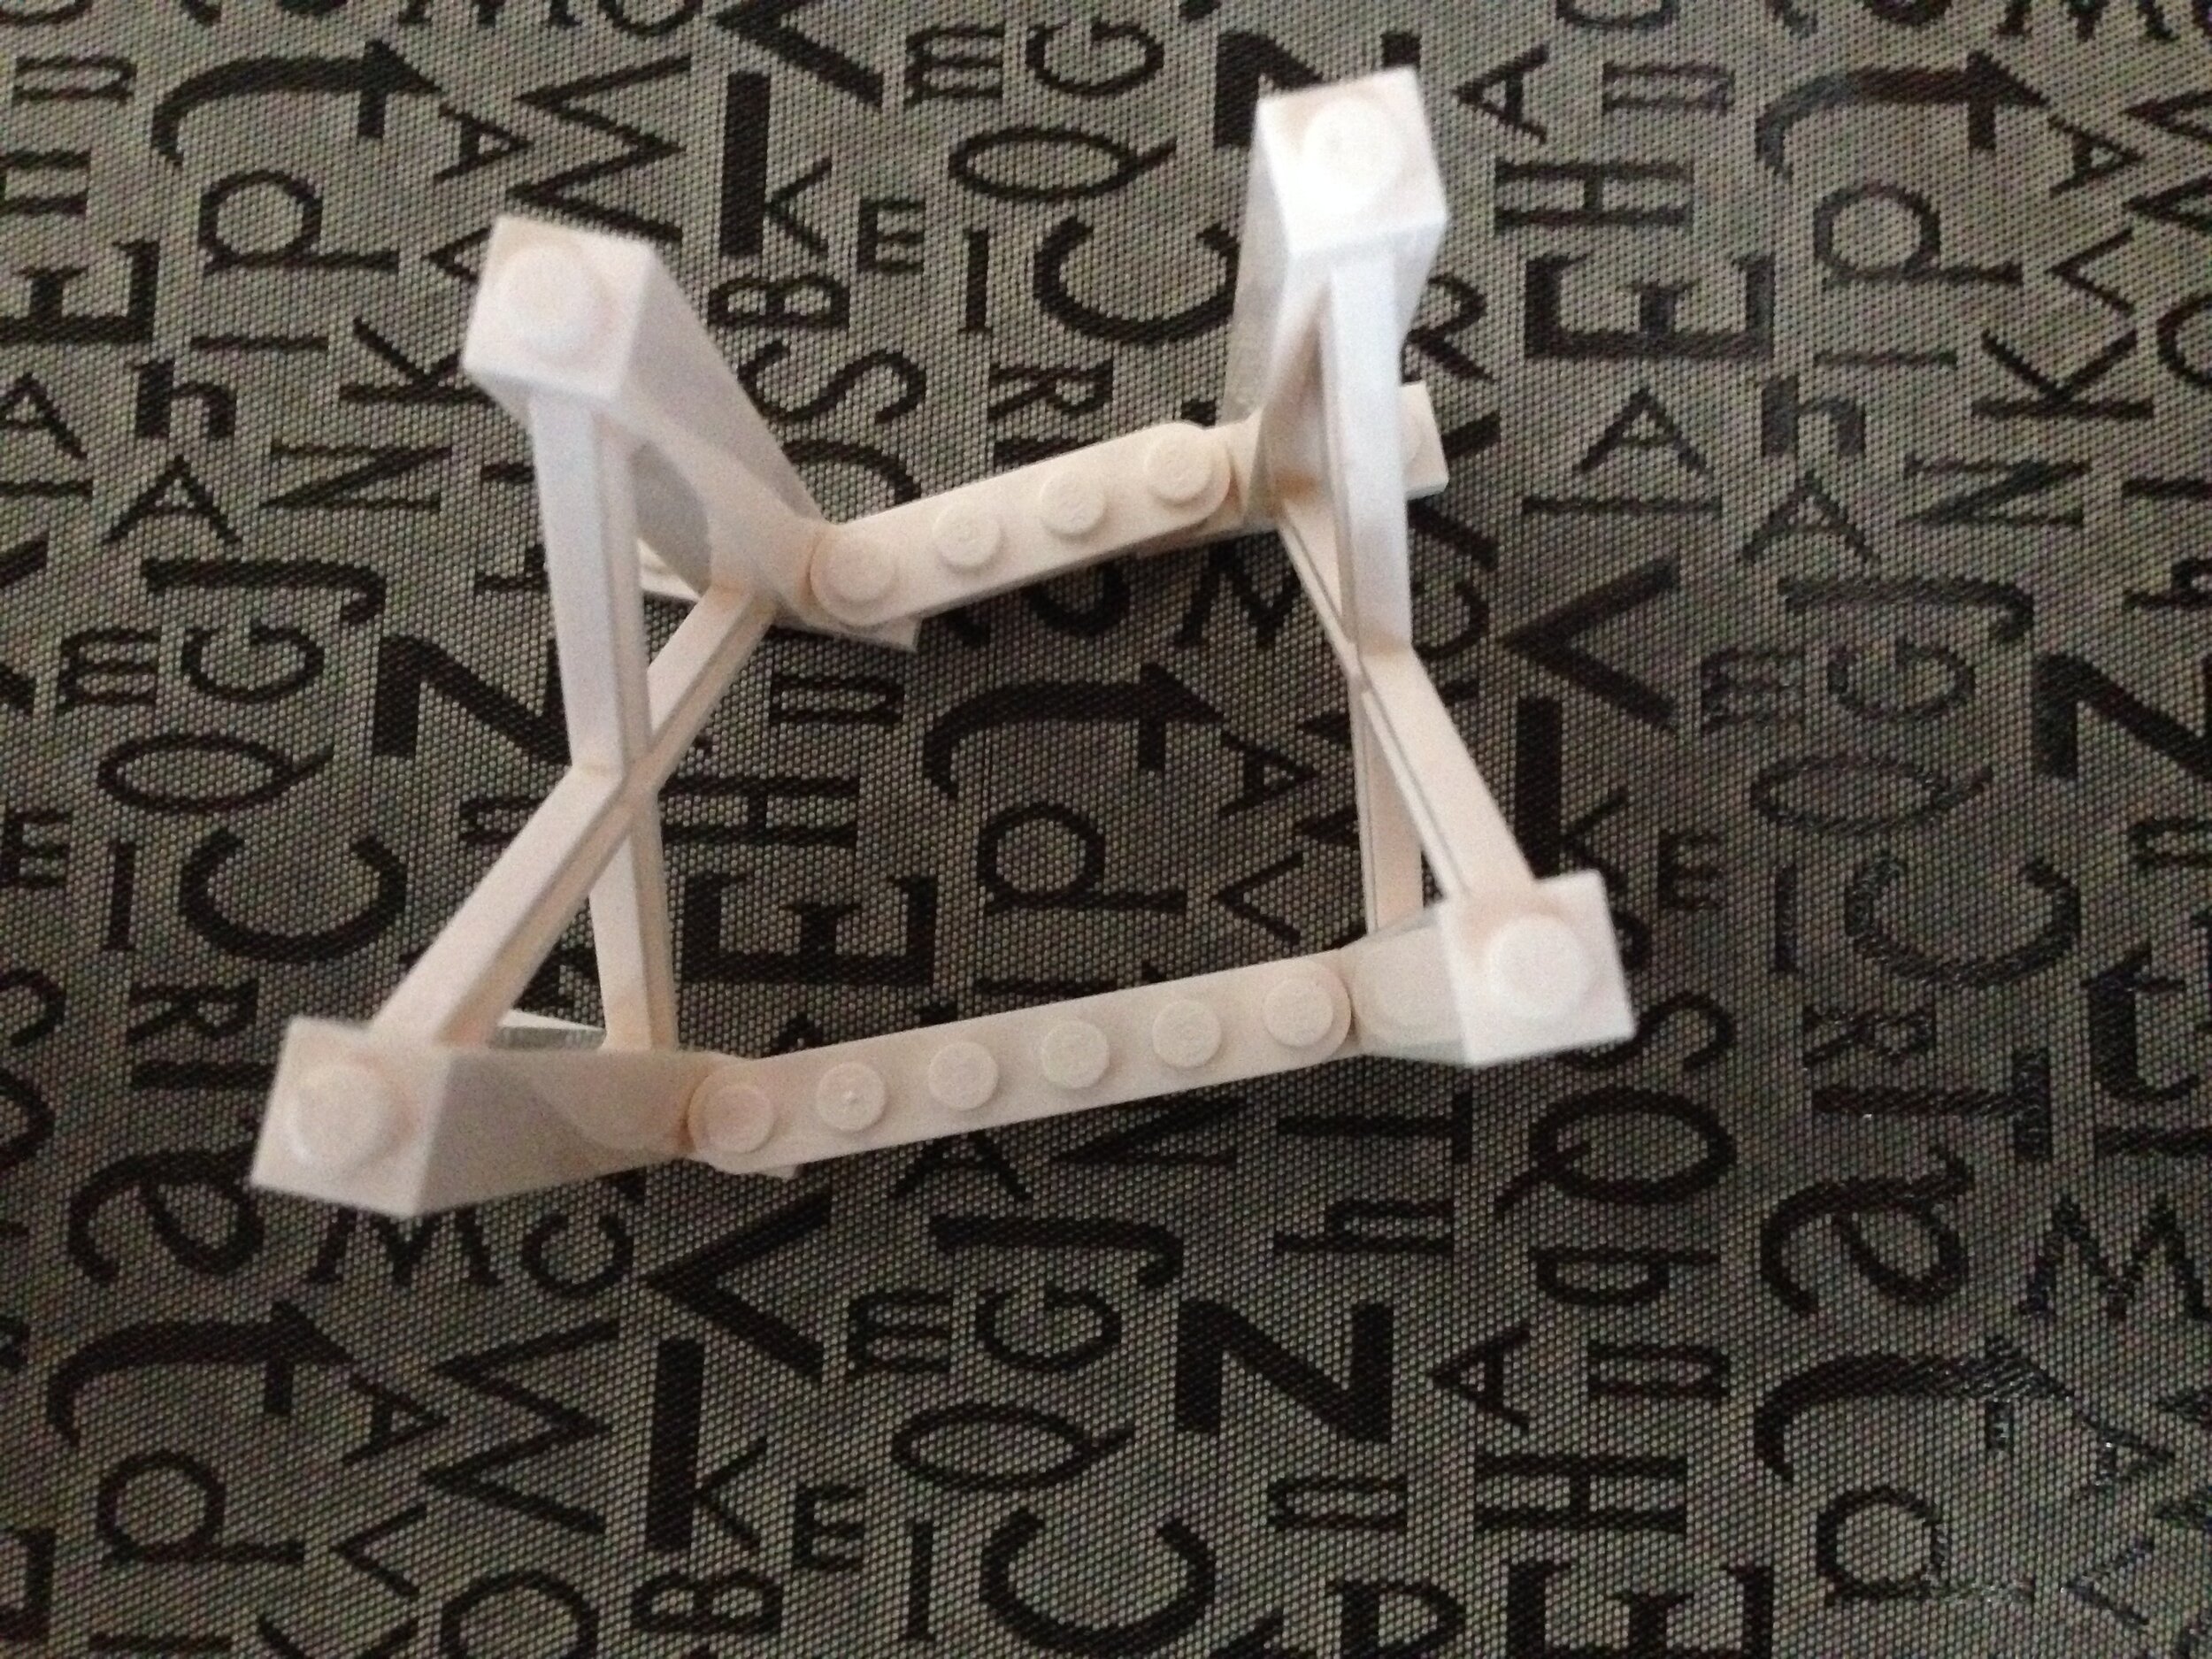
When your curves are out of line like this, it can create lots of problems, from excess friction to your track not lining up properly with the next section. Curves work best when the two rounded pieces are exactly parallel to each other… and the easiest way to do that is to grab some of those 2x6 pieces and snap them between the two rounded pieces like this:
I find it easiest to snap those pieces together as a set before putting them between the support pieces.

This method keeps things in line, makes your turns smoother, and even lets you do a complete circle if you want.
Tip #5: Stop in the station
CDX models can be quite realistic, but one of the non-realistic things is the lack of a loading/unloading station. Sure, you can build one out of Lego or other materials, but the train is just going to sail right through it and continue on to the lift. Fix this by extending the chain into the loading area.
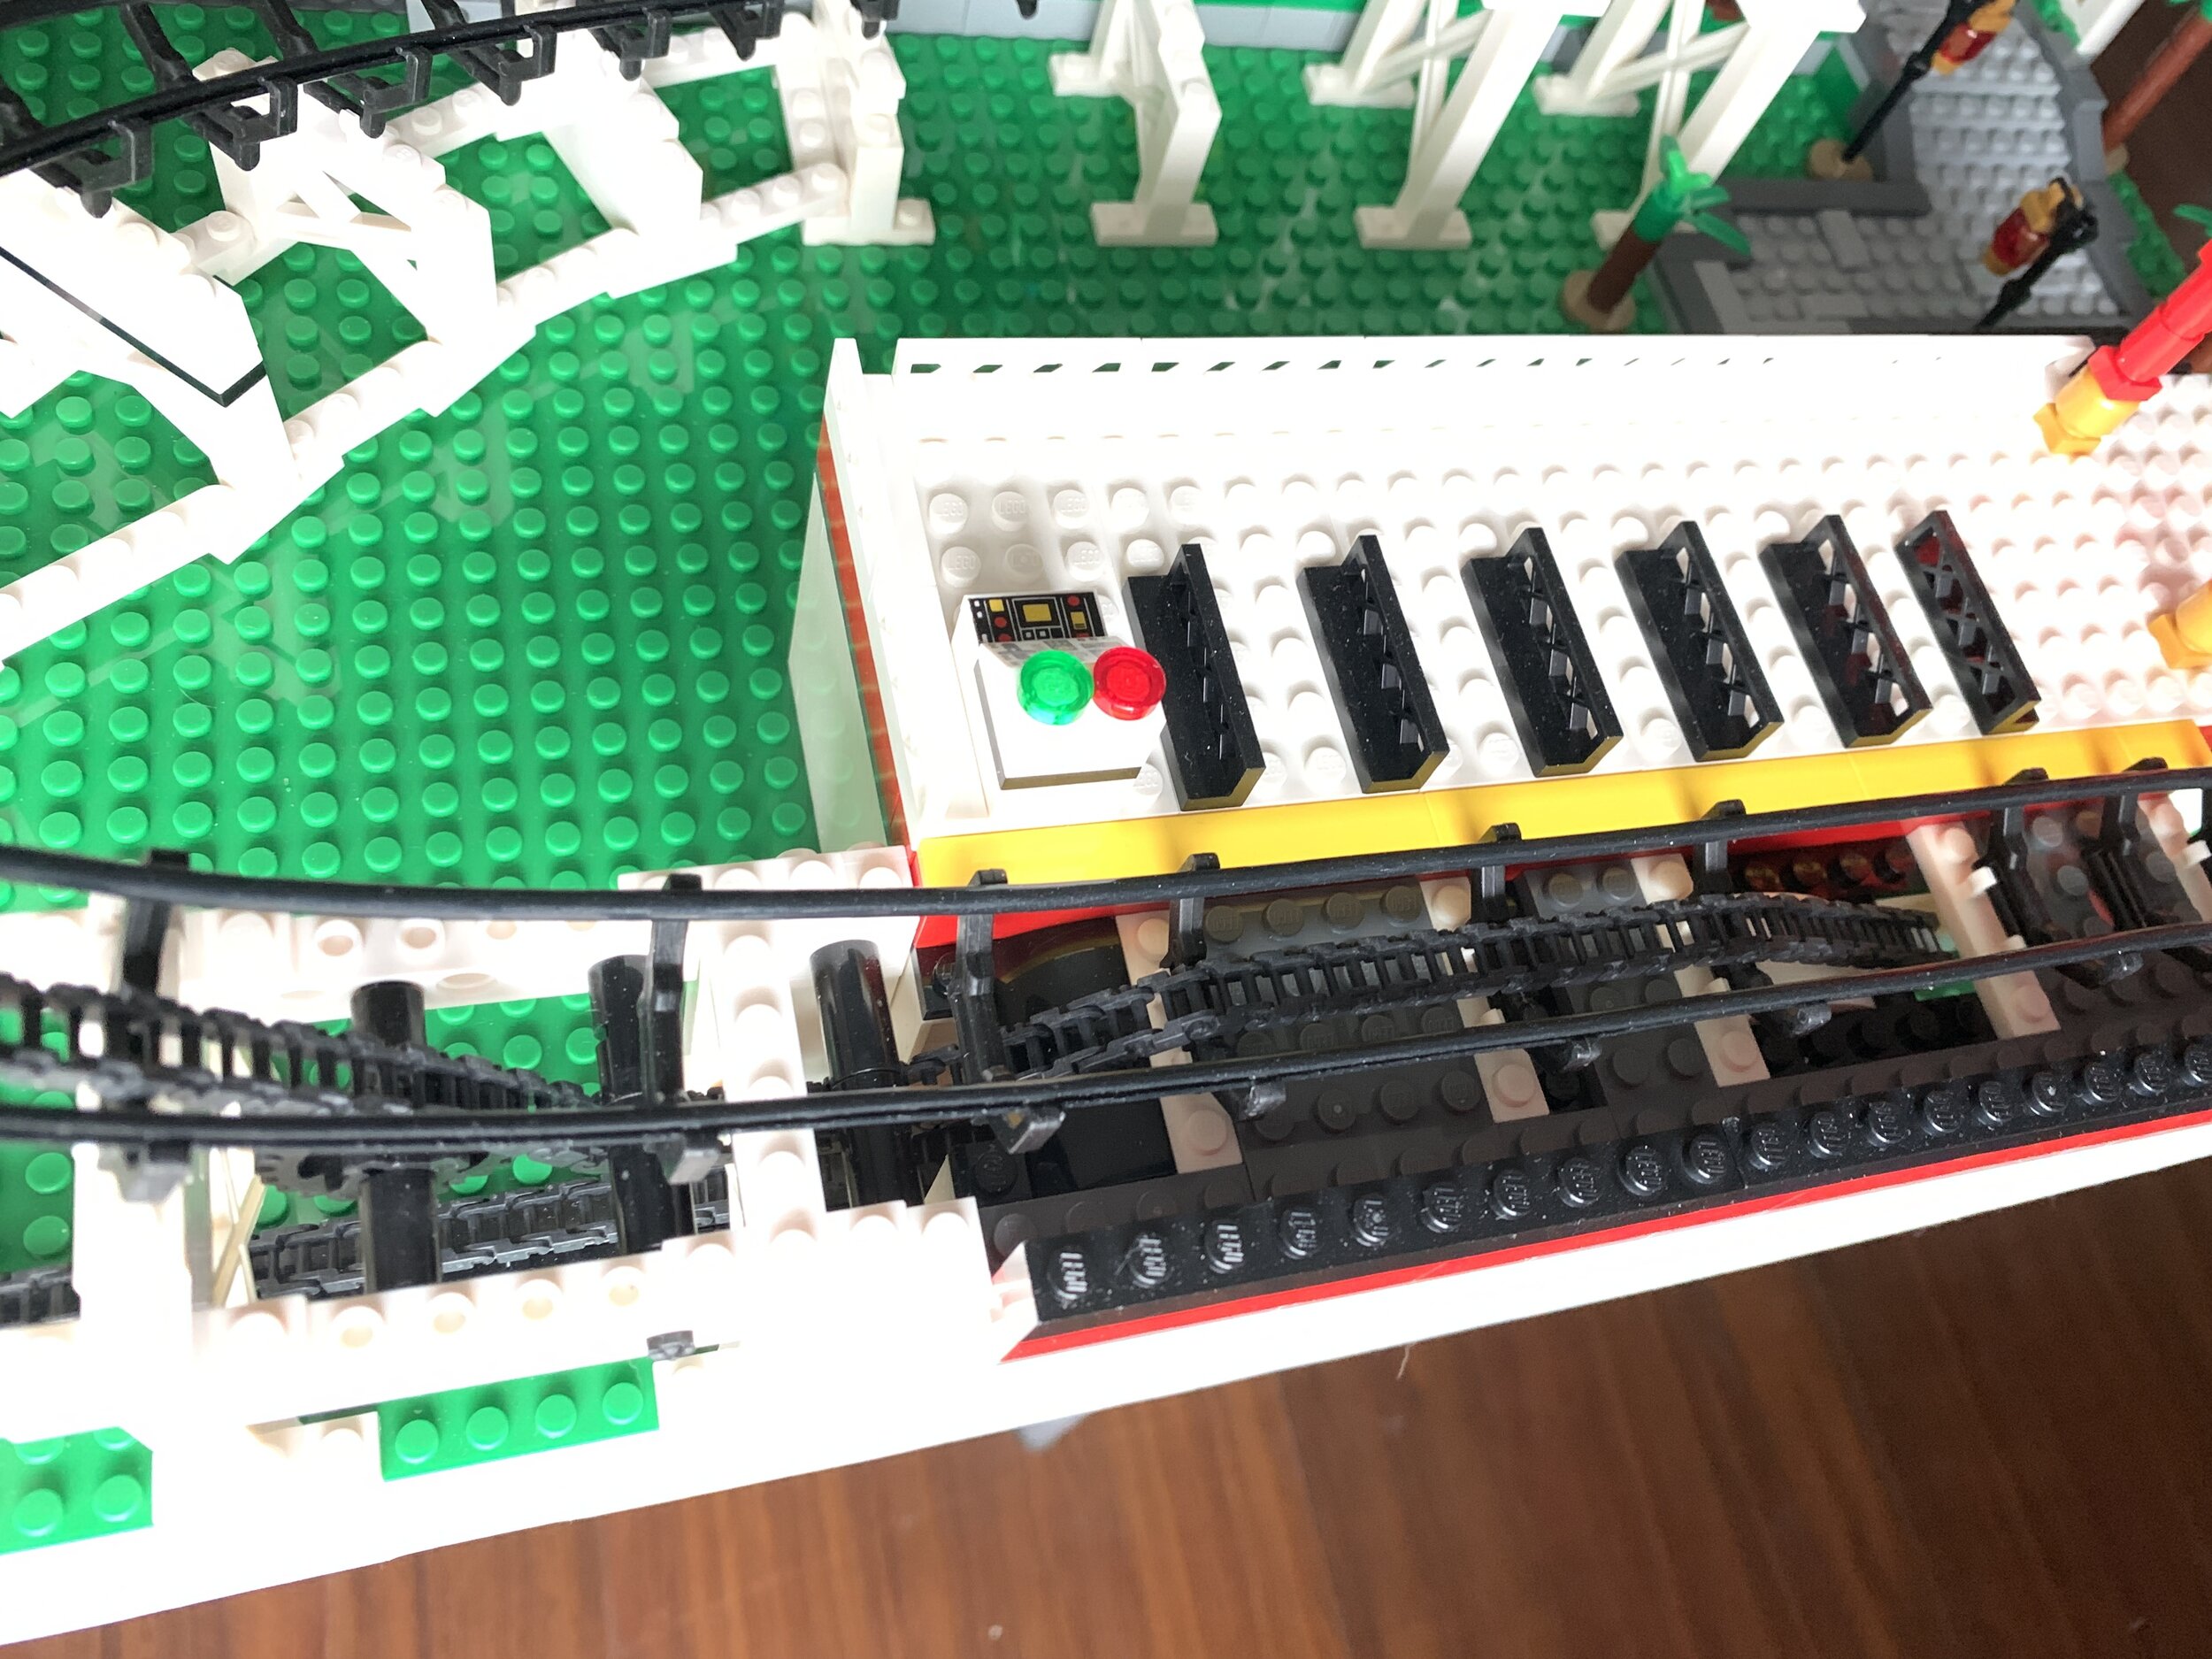
Even a short length of chain like this will stop the train in the loading area. Since the tiny chain-catching pins on the bottom of the train are going to be responsible for stopping the train, try to make sure your train is going relatively slowly when it gets to this area to keep from damaging the pins or the chain.
Once the train has come to a stop, it will stay there until the lift chain is moved again. That will move the train forward out of the station and onto the lift, just like a real coaster.
In the above example, the chain slides under to axles covered with Lego 2L pin connectors (part #62462) that roll freely on the axle.
You could also do the same thing more elaborately with extra gears and stuff. (See below)
Overkill, probably…
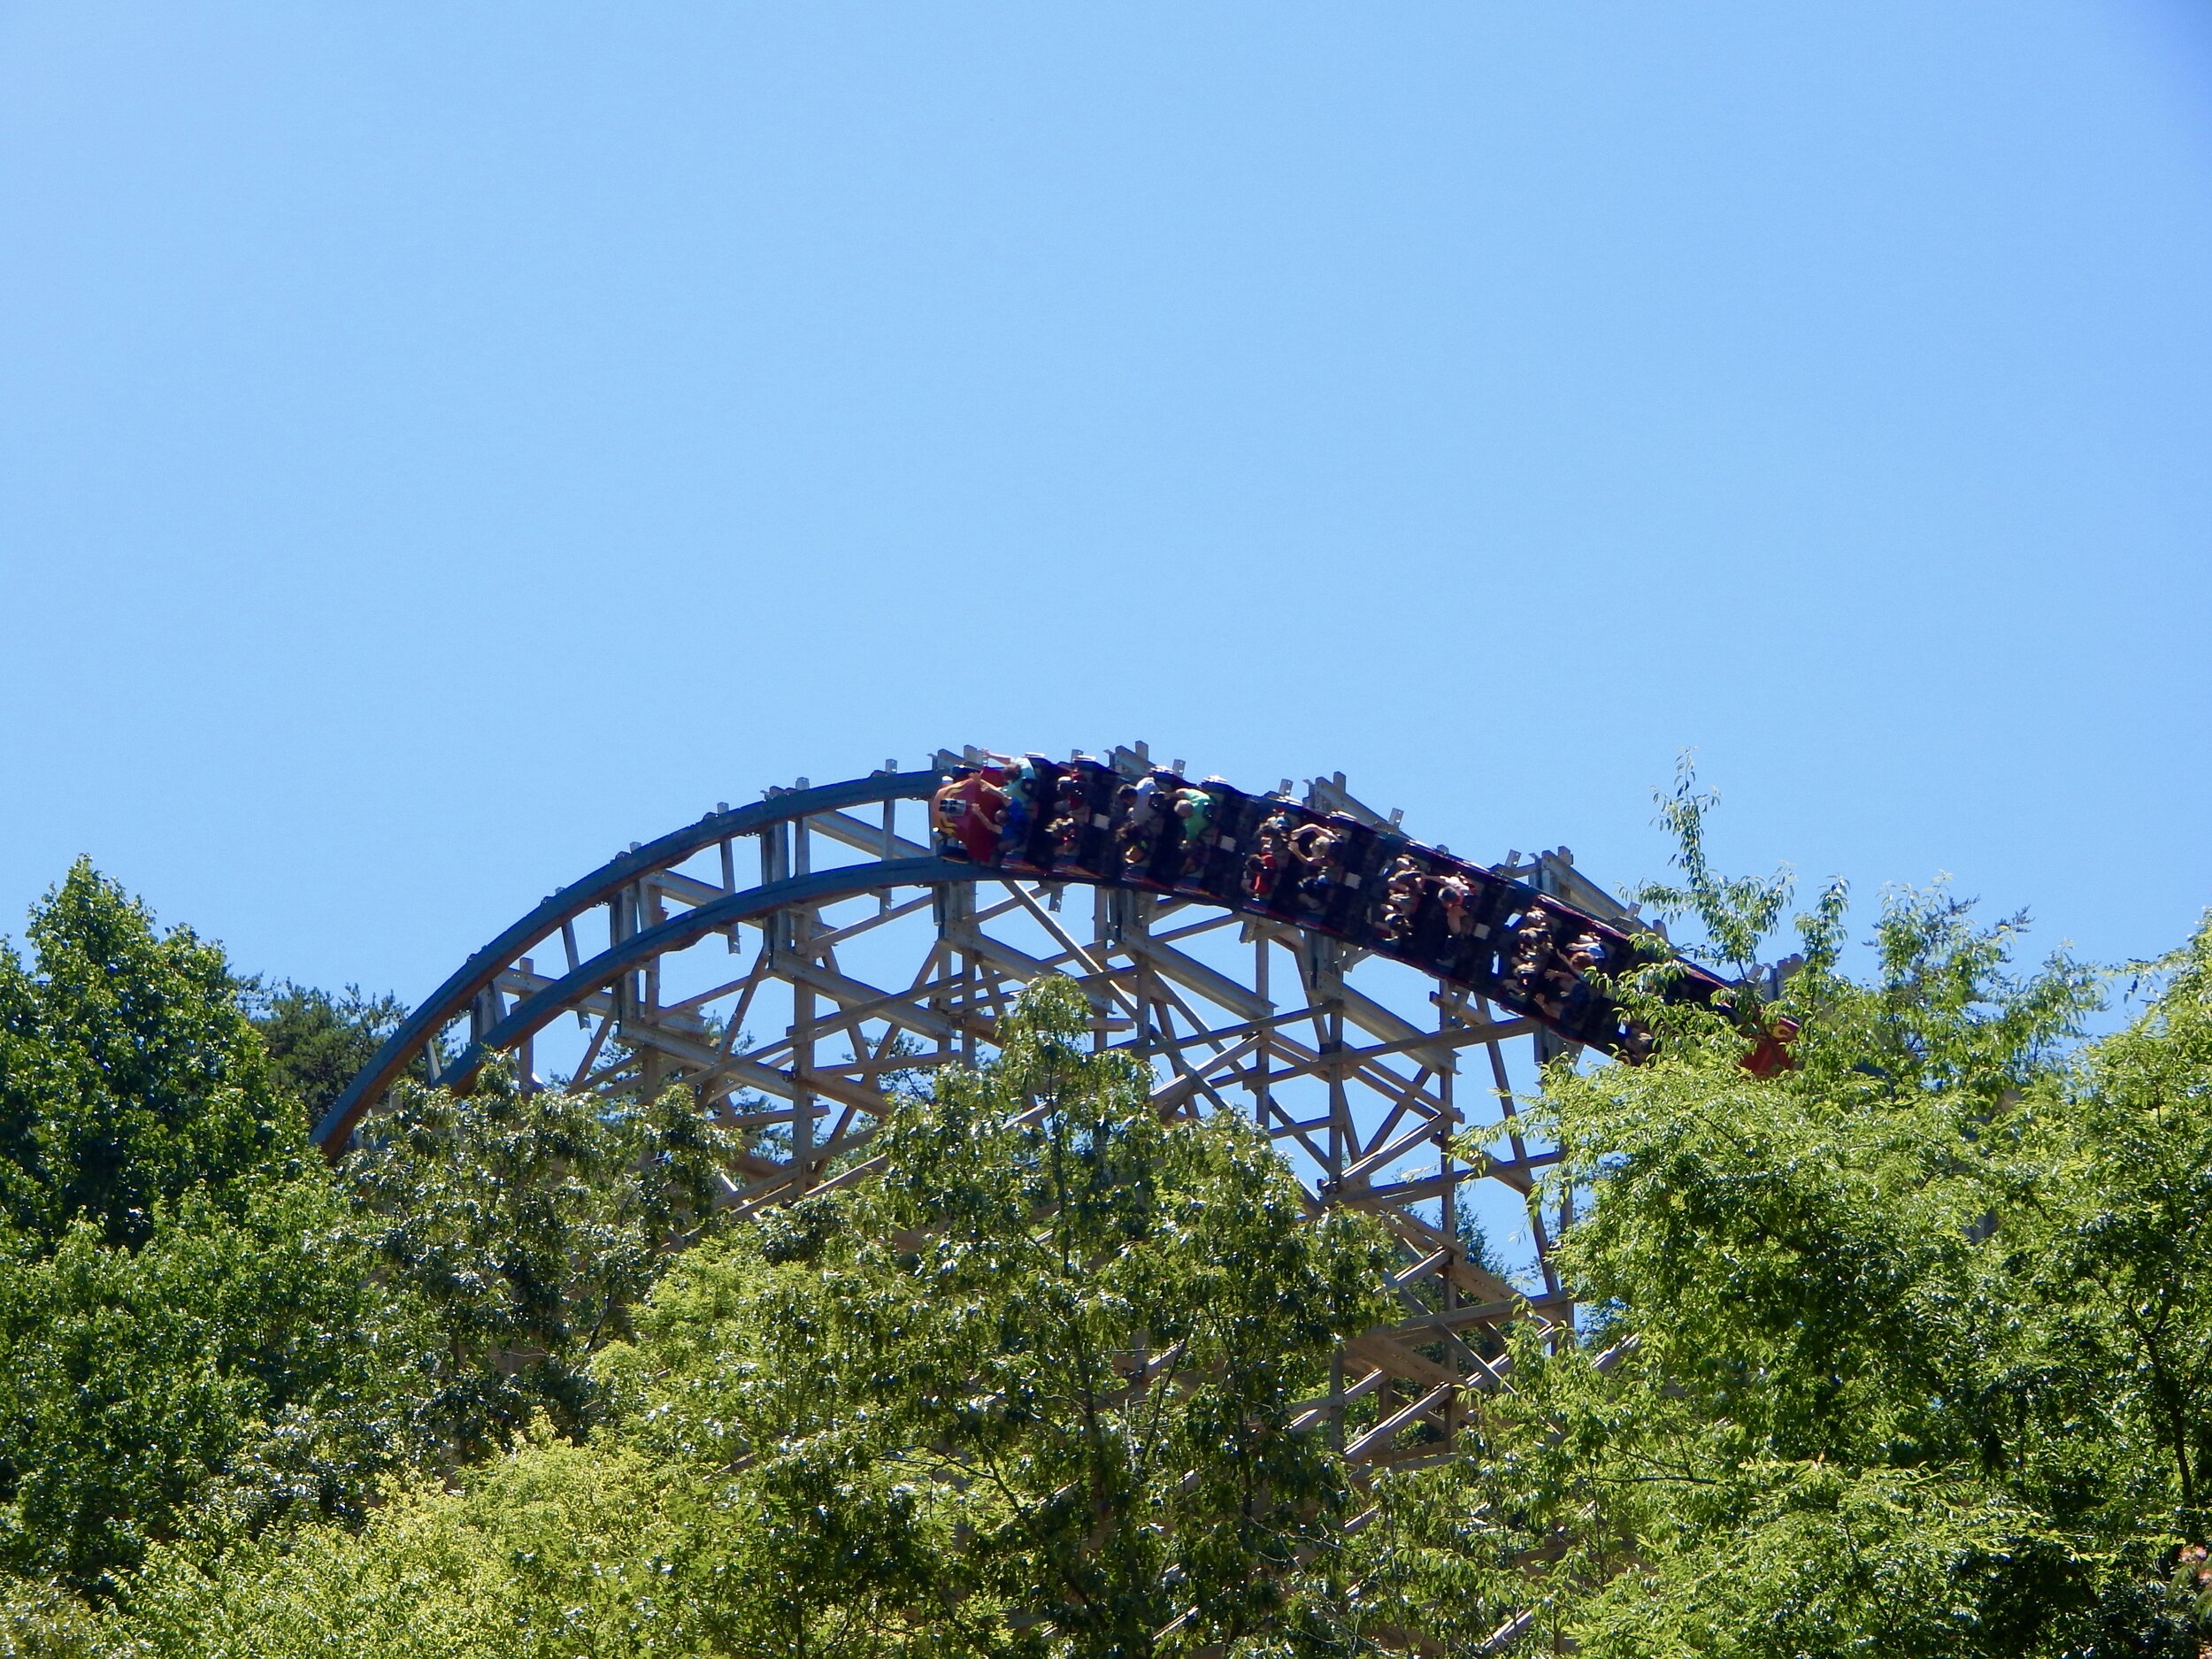
Tip #6: Wave turns
One of my favourite elements of real-world coaster design is a thing called a wave turn. It’s a turn that’s set on its side and it’s simultaneously wicked fun and terrifying. So many things happen to gravity in such a short amount of time! Examples of this can be found on coasters such as Outlaw Run at Silver Dollar City in Missouri, Wildfire at Kolmården in Sweden, and Lightning Rod at Dollywood in Tennessee (pictured below)
To build a wave turn with CDX, make a standard turn separate from everything else, making sure there are enough cross beams to hold it together when picked up. Then build a tall structure and use Lego bricks to attach the assembled turn section to the side of the structure.
For less-than-vertical turns, you can use stacked CDX angle bricks and put your turn assembly at an angle.
Tip #7: 90-degree banked turns
Another thrilling real-world maneuver for coasters is the 90-degree banked turn. Coaster engineering/design firm The Gravity Group were the first to use these on a wood coaster (Hades at Mt Olympus in Wisconsin) and it was such a success that several more coasters incorporated those turns in the years that followed.
Switchback at ZDT’s in Texas goes a little past 90 degrees, pulling 104! Photo courtesy of ElloCoaster
Doing such a turn in CDX is tricky and requires a bunch of non-CDX pieces. There are two basic methods you can use - the first is to prop up the turn with a bunch of bricks secured with inverted brackets (Lego part# 99207)
A second method is to hang the brackets from the top of the CDX structure using Lego bracket part# 44728.

Tip #8: Inversions
Going upside-down on a coaster is thrilling, but you’ll need some practice to get your CDX track to behave when going topsy-turvy. Your best bet is to get to the start of where your loop (or whatever) is going to be, then installing a bunch of crossties onto the rails to build out a couple feet of track. Then twist the track you just made into the loop or whatever shape you want. Trying to bend one rail into a loop and then adding the second rail and crossties later is going to be a nightmare. Plain vertical loops are the easiest to do, so you should try a few of those first.

I find that bending the track around a cylinder, such as a large coffee can, will make it easier to get the loop that I want.
Once you’ve got the hang of plain vertical loops, try your hand at looping and twisting simultaneously like a corkscrew or flat-spin.
Immelmans (half of a vertical loop that twists into or out of the upside-down portion) are impressive, but not too difficult to build.
Inline twists are also possible, but are best navigated by trains without riders. The forces are really strong when peeps alter the centre of gravity in these maneuvers!
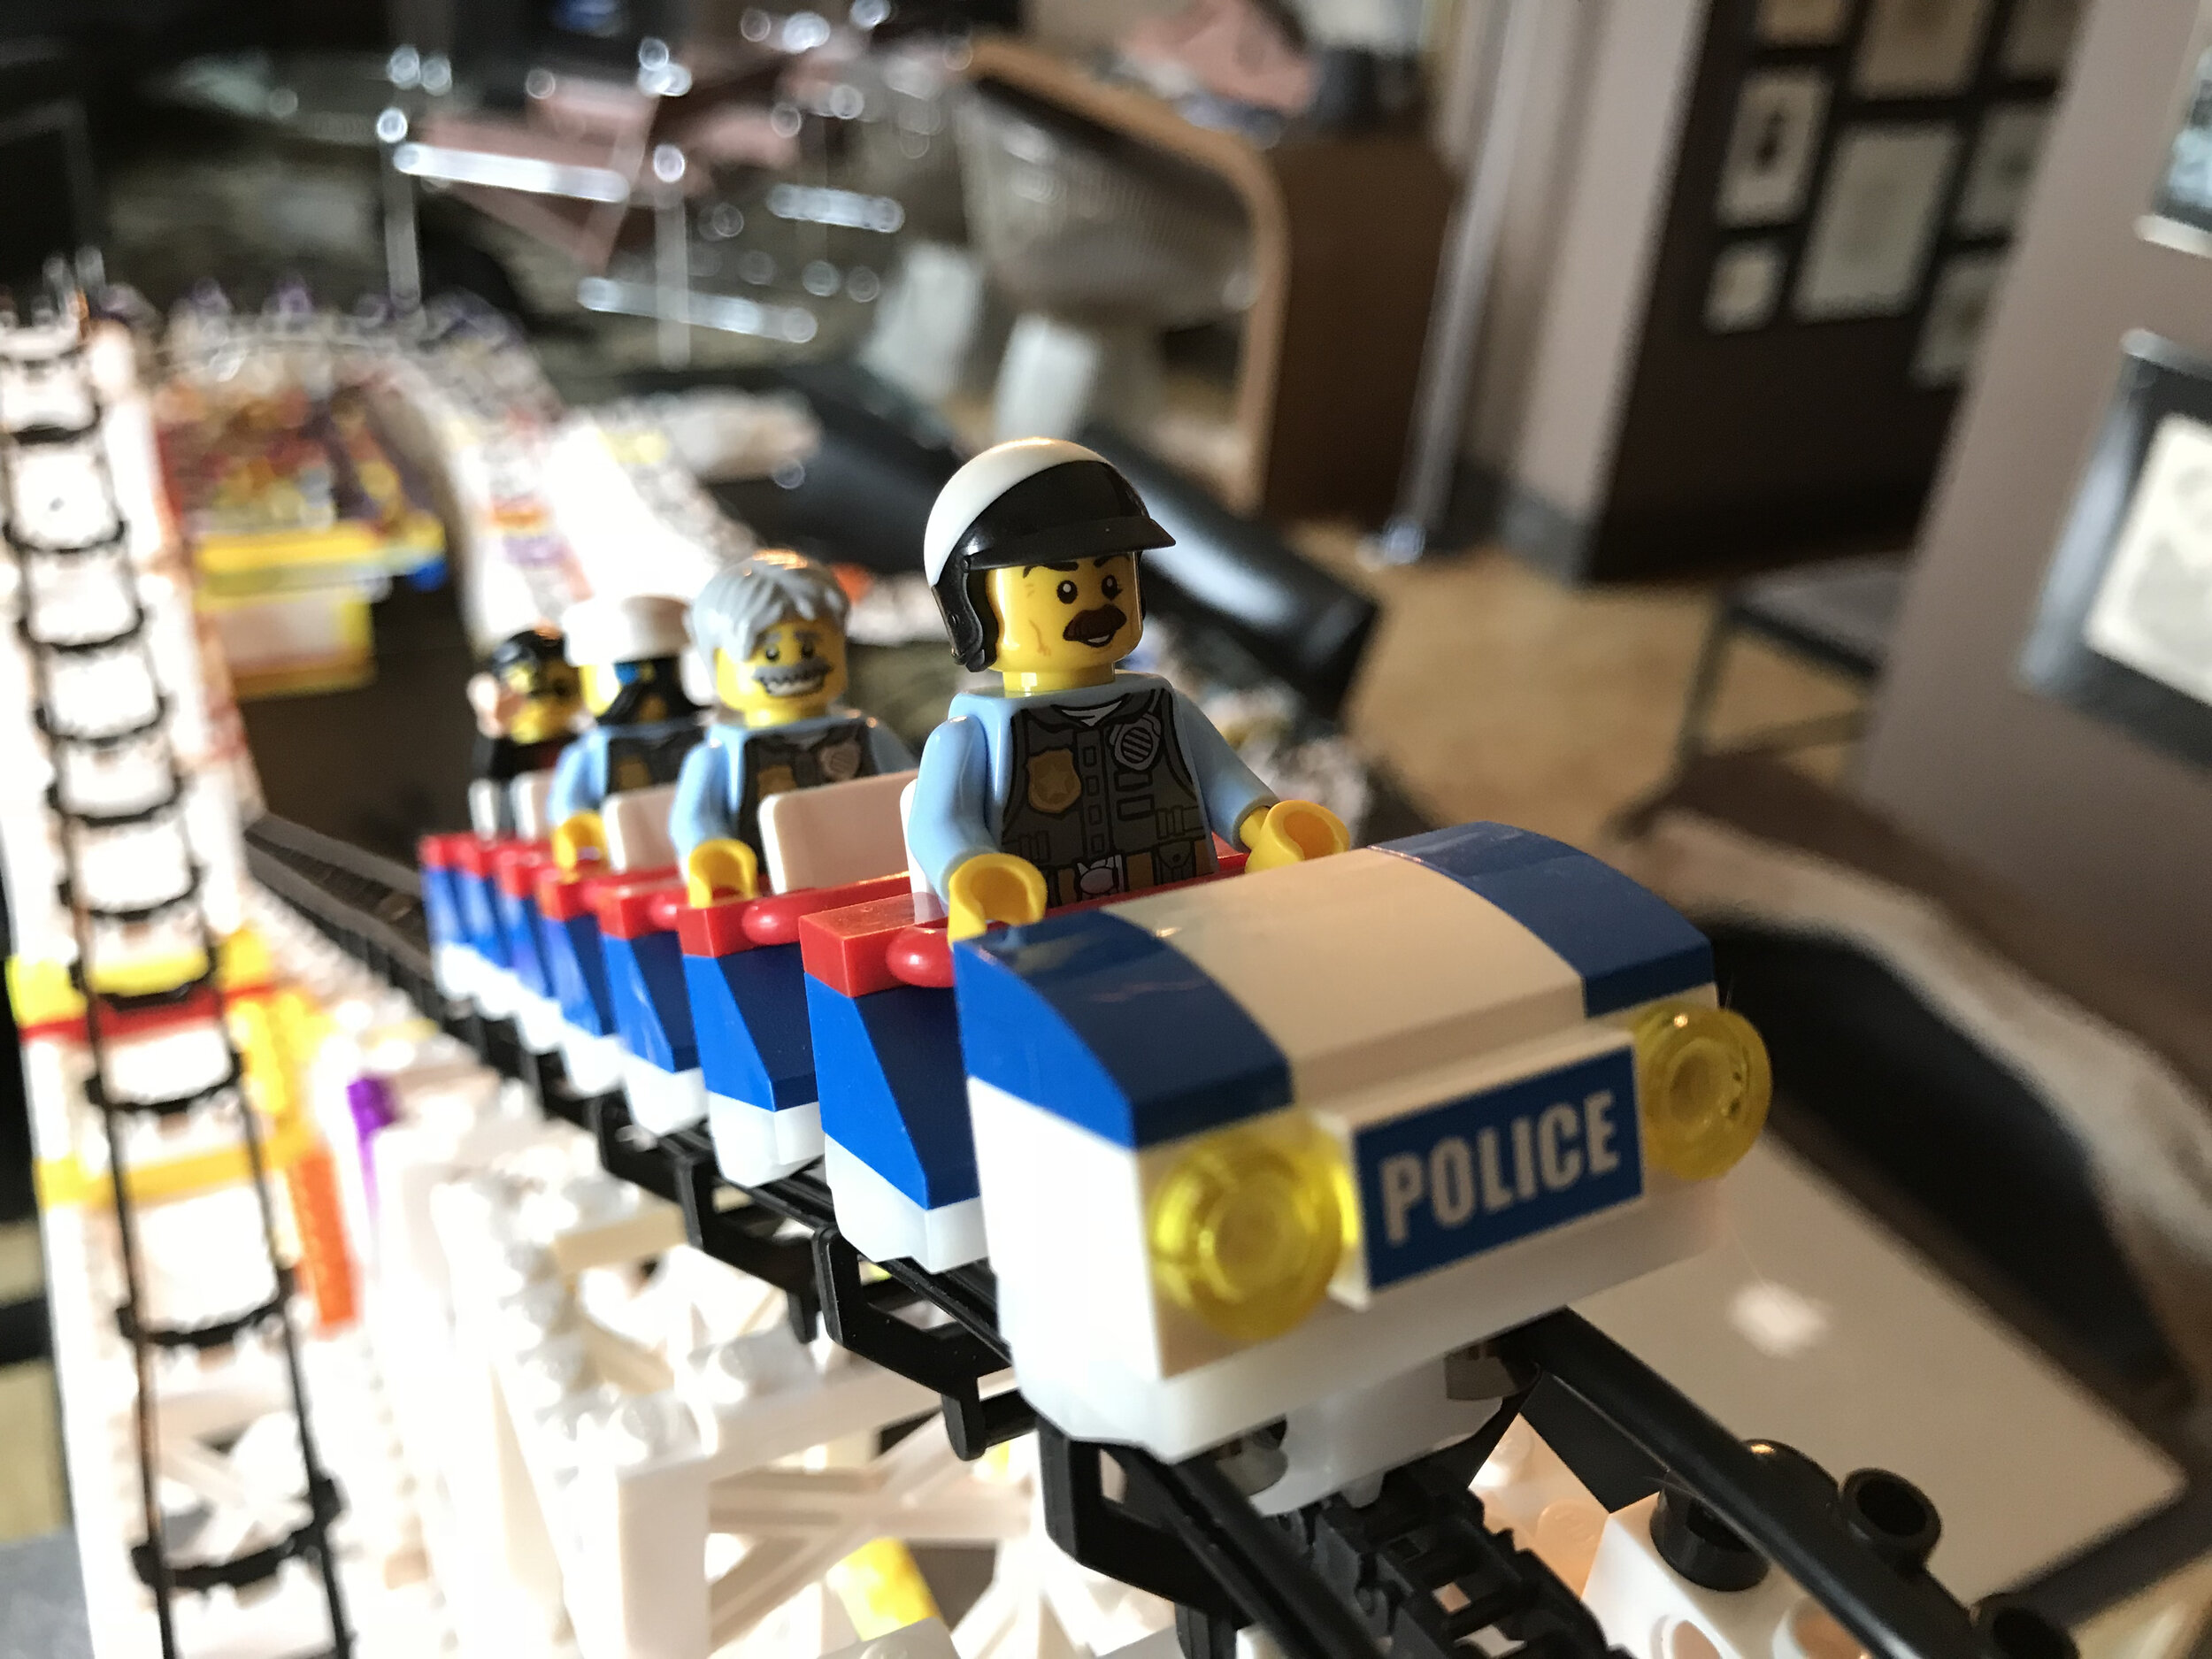
Tip #9: Theming
Adding some decorations or theme elements can really make your coaster stand out, whether it’s custom trains…
…or putting the name of the coaster right on the structure…

…or maybe a wacky tunnel…
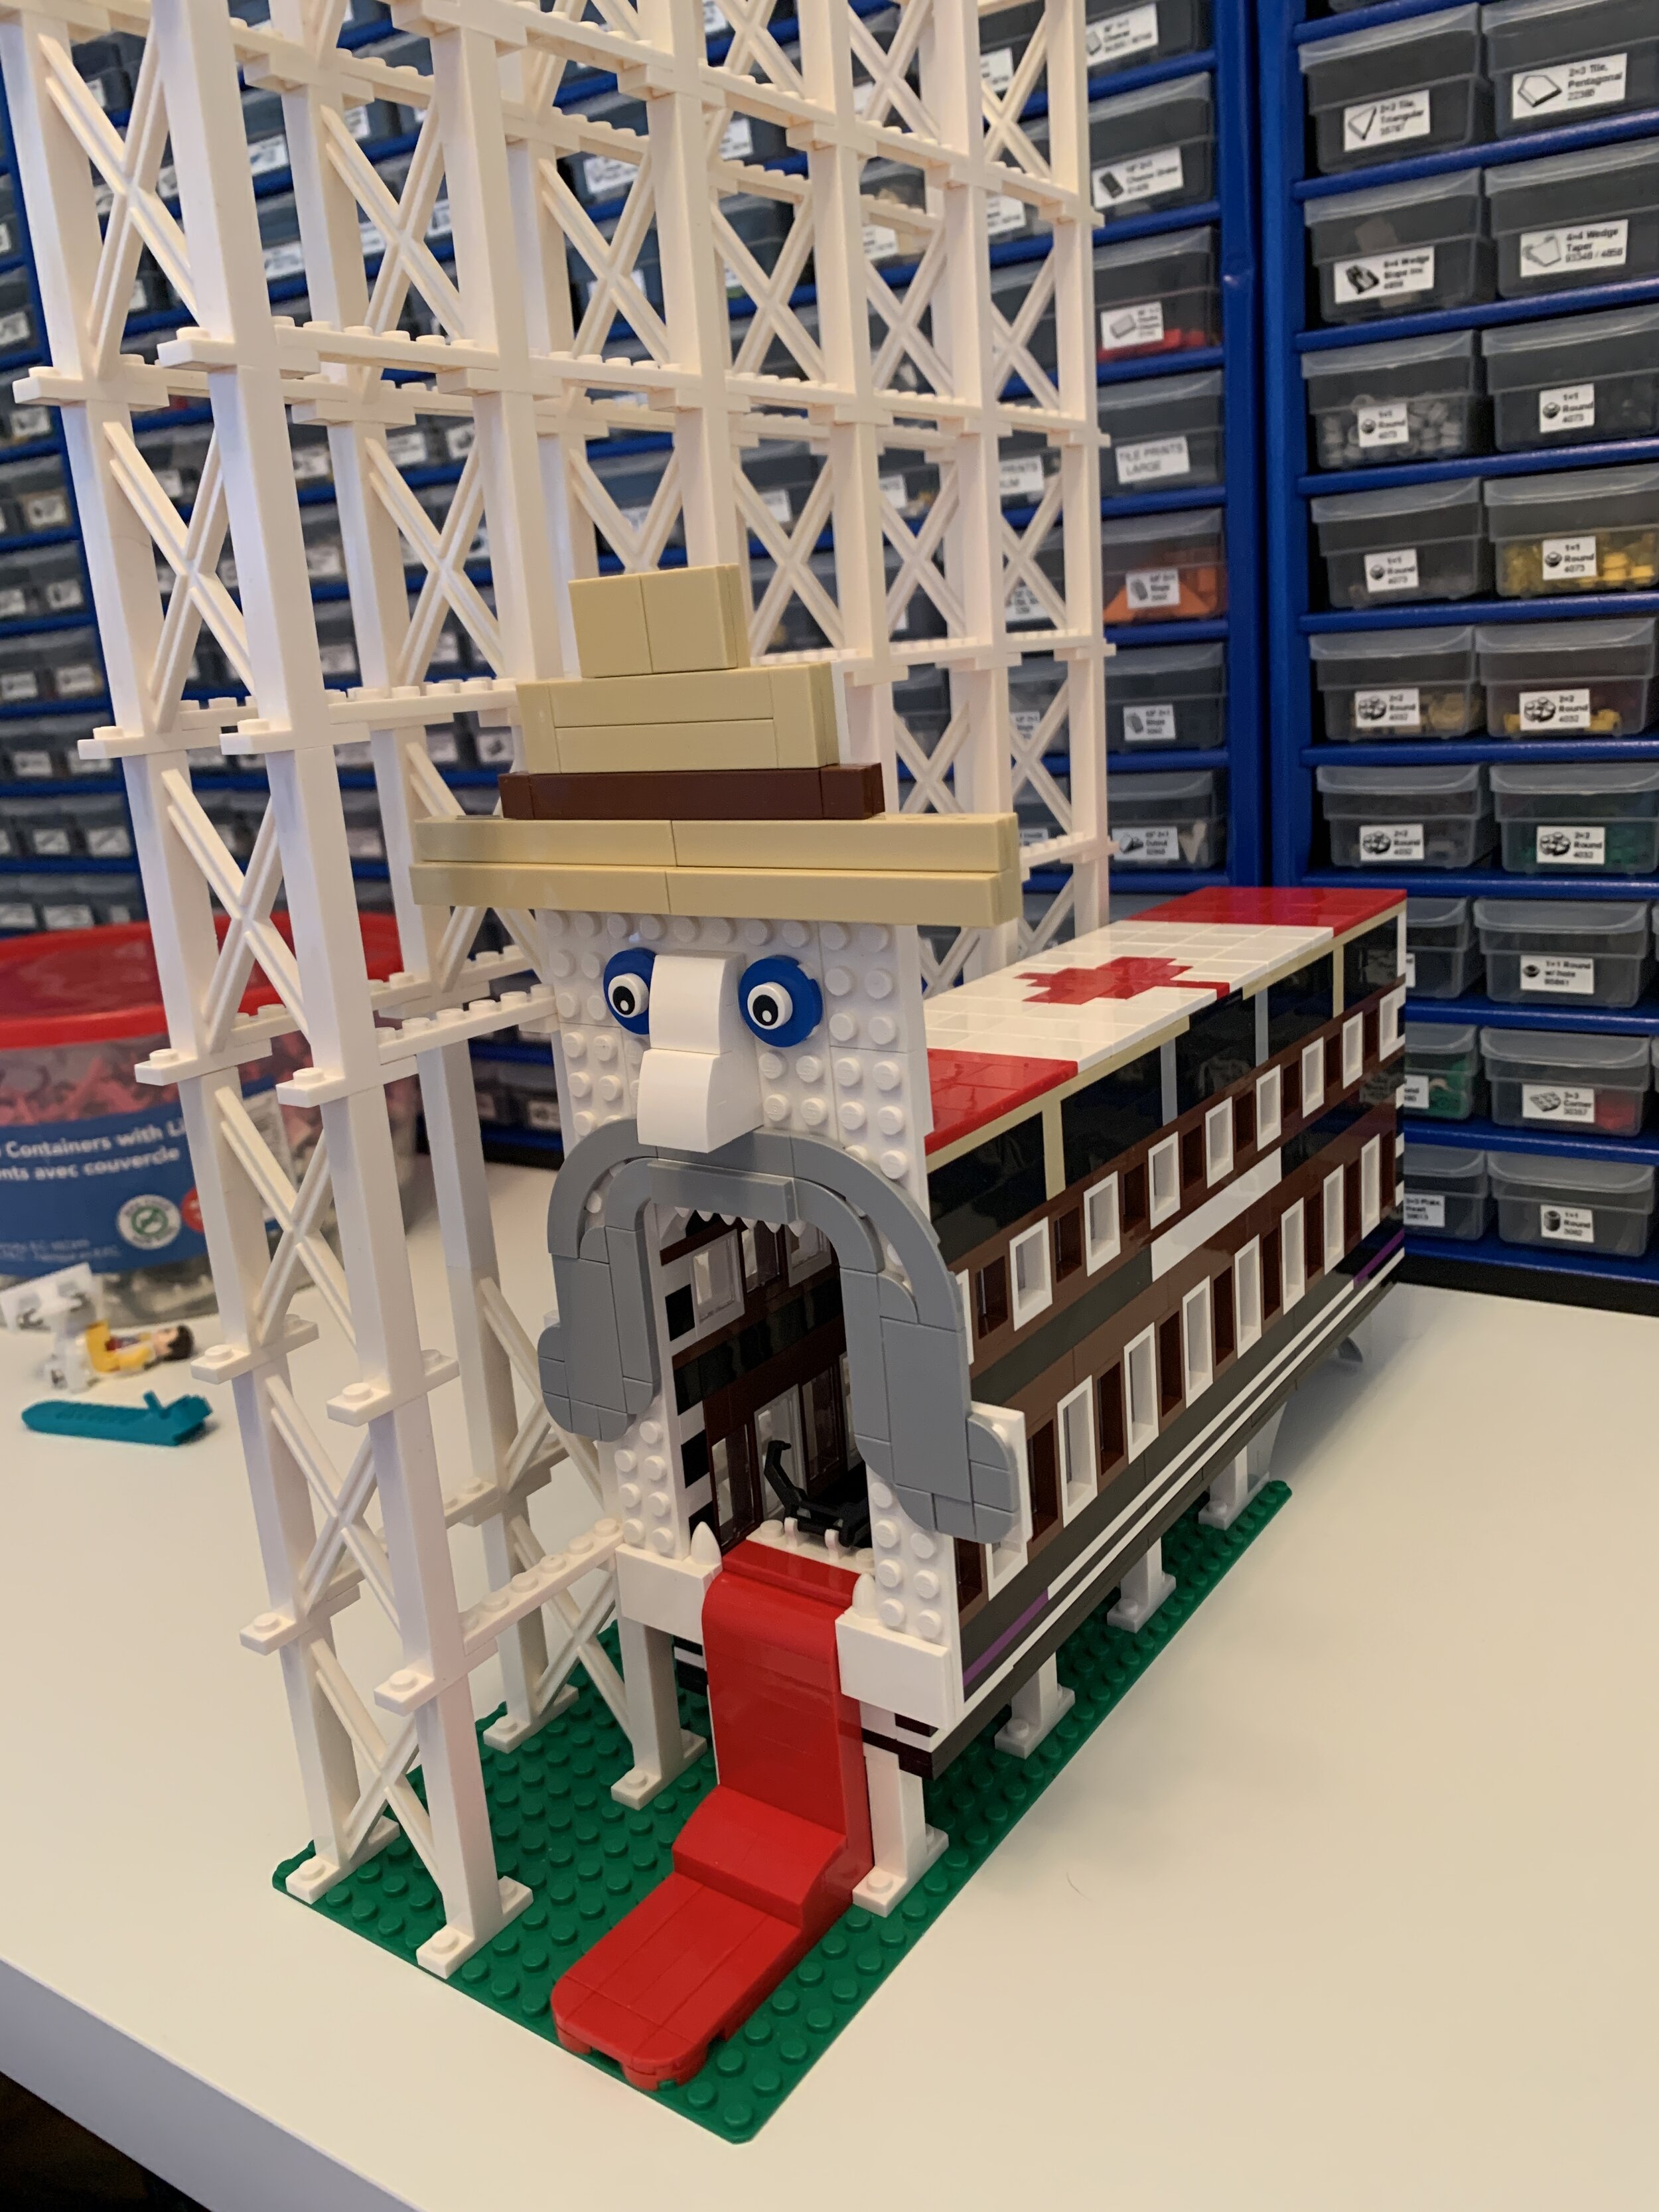
…or building on an unusual location…
Whatever methods you use to enhance your model, it can really add a ‘wow factor.’ If you’re not feeling the creativity spark, just modify something to suit your needs. Even existing products can be incorporated into your design. For example, this elaborate Chinese garden themed queue line and loading station -
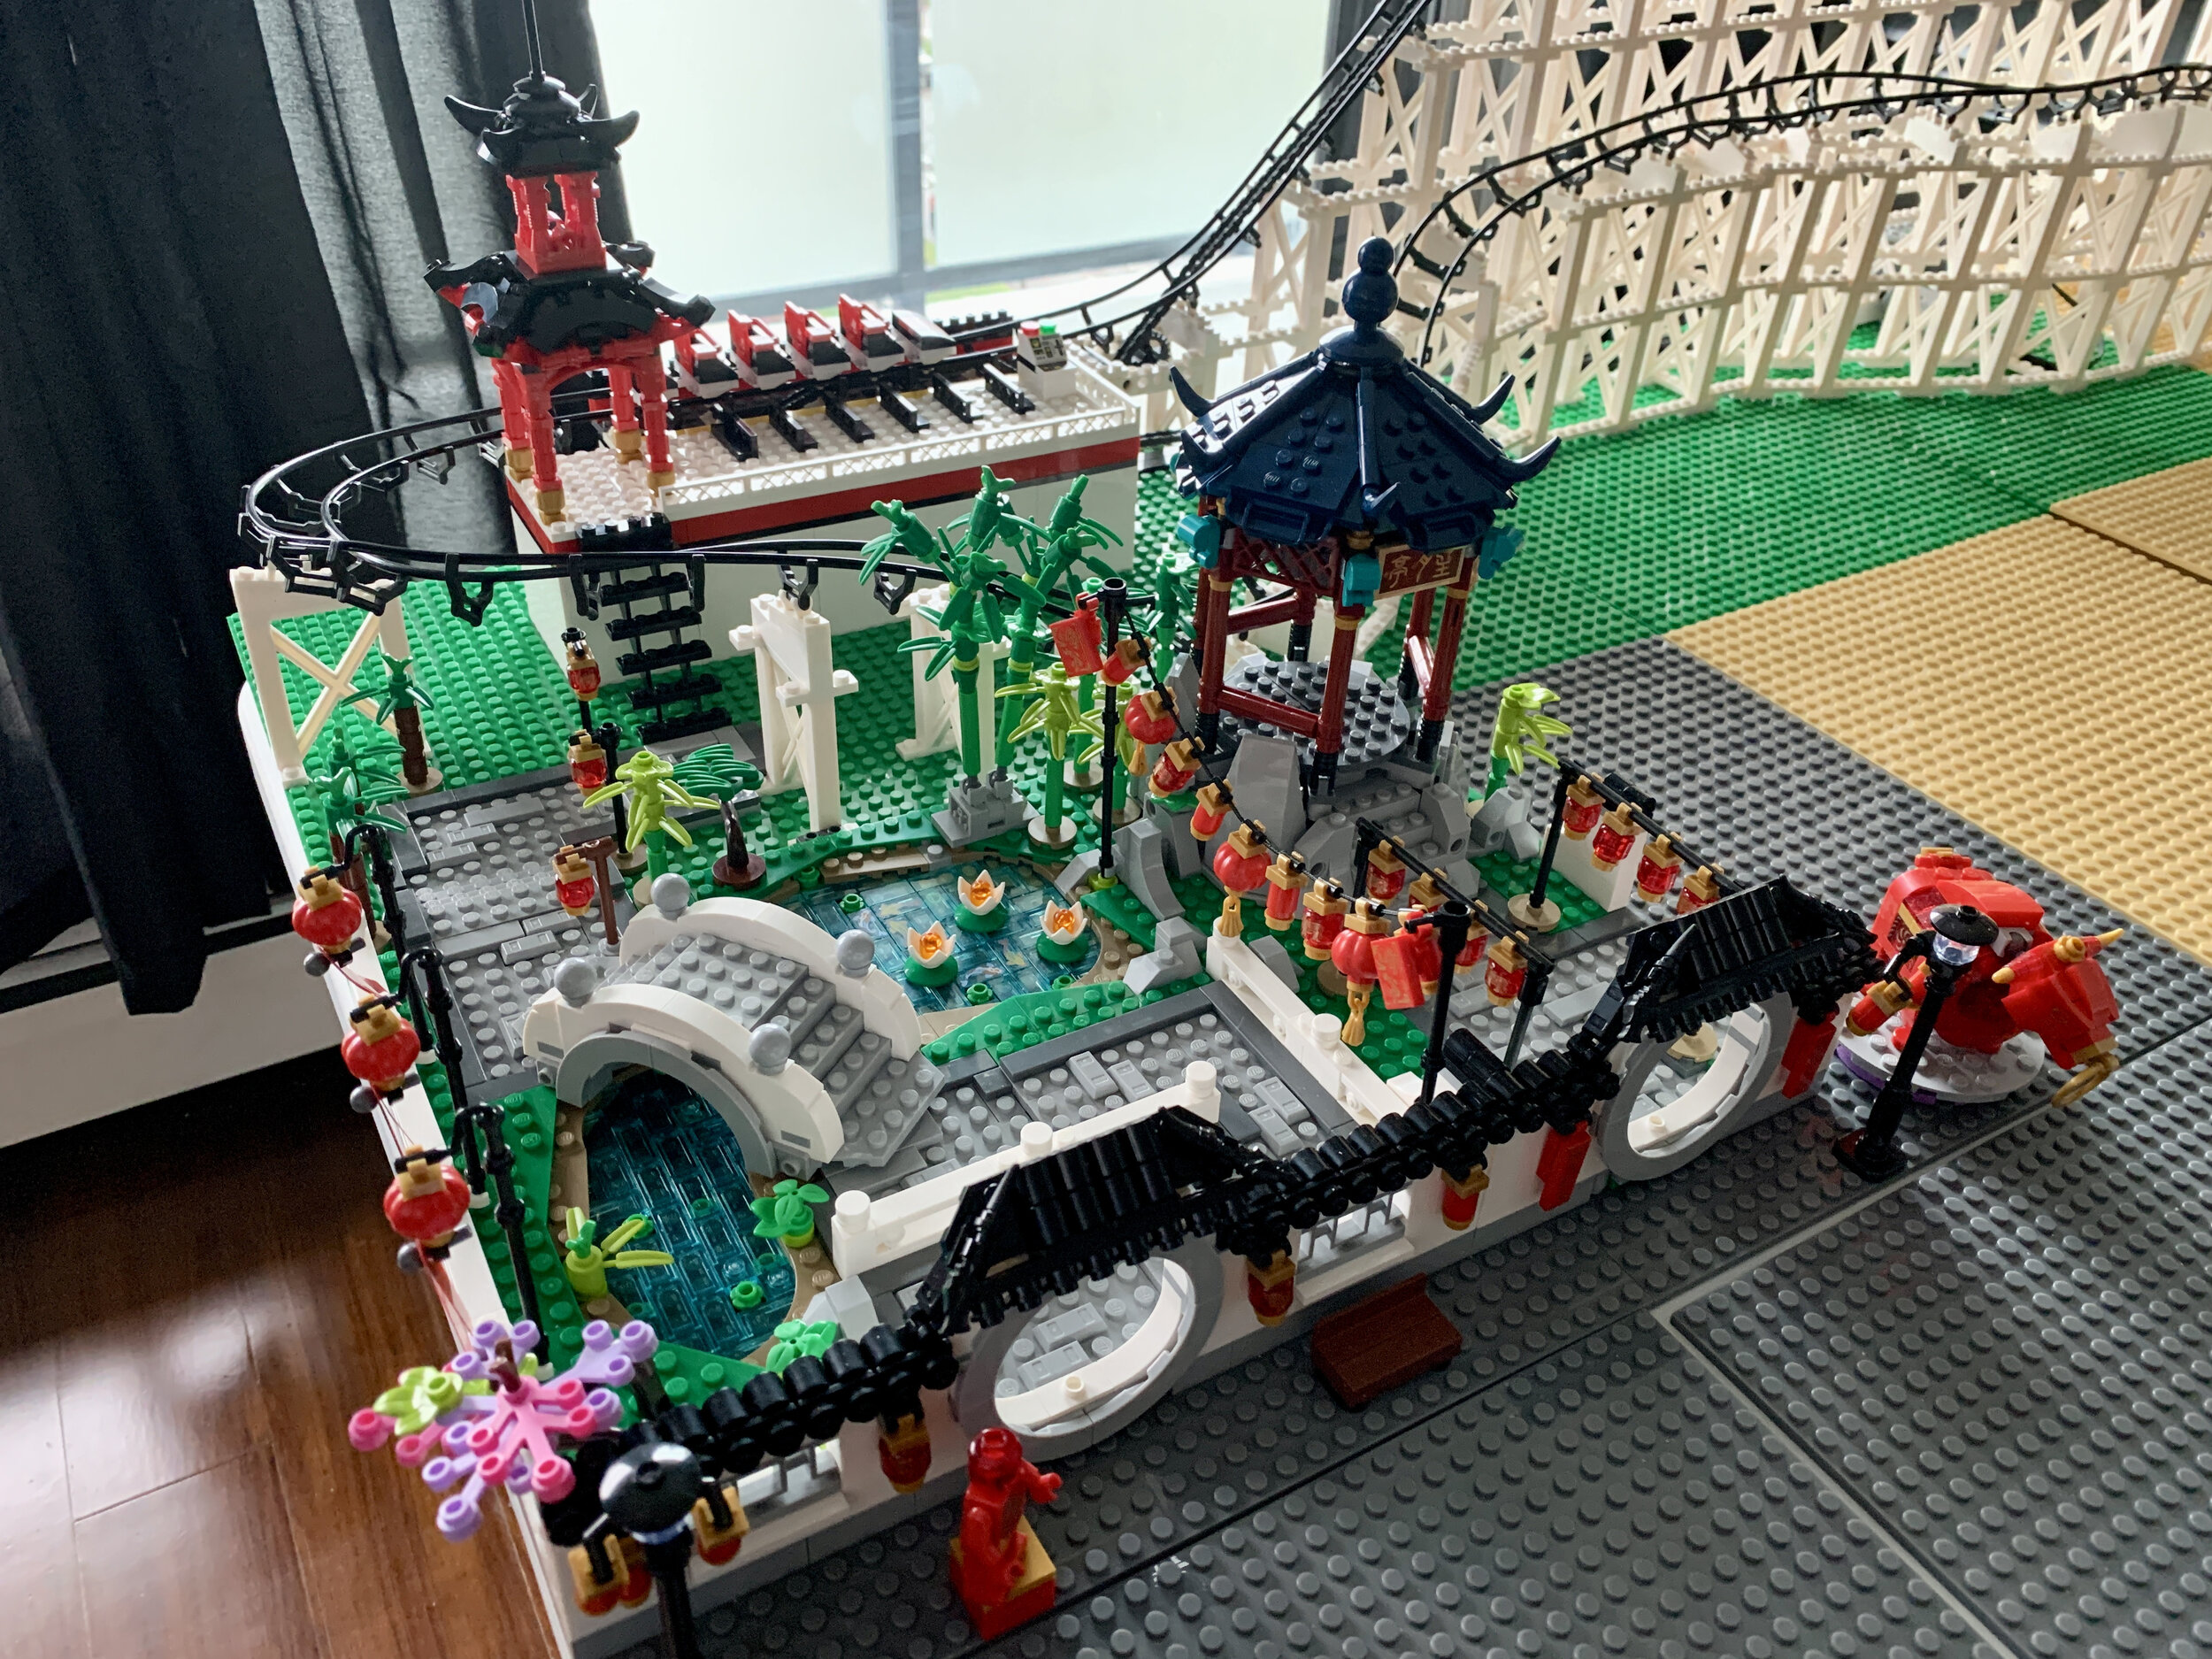
…began as a Lego set (Spring Lantern Festival, #80107) and only needed minor tweaks to make a nice queue.

Tip #10: Going crazy
CDX does what it does very well. Going a bit crazy and experimenting with different things has various degrees of success, but it’s always fun to try! One of the more interesting things you can try is to build completely different kinds of coasters, just like real-world parks have.
Try building a train where the peeps ride standing up
Have two tracks race each other

Maybe an inverted coaster?
…or a suspended coaster where the cars are free to swing from side to side.
Or… and this is really outside the box… have a look at this coaster in Skara Sommarland in Sweden called Tranan.
It’s one of the weirdest coasters I’ve ever been on. So of course, I had to try to build it!
“Try” being the operative word… it wasn’t entirely successful, at least not as much as I’d hoped, but HEY it was fun to build and I learned a lot from trying it, so win-win!
CDX provides a fantastic base setup for exploring lots of fun new ideas. Add Lego or other compatible block systems to it and the possibilities are nearly infinite. Try out your own ideas!
Want to see some photos of coasters I’ve built over the years? Click that button below.